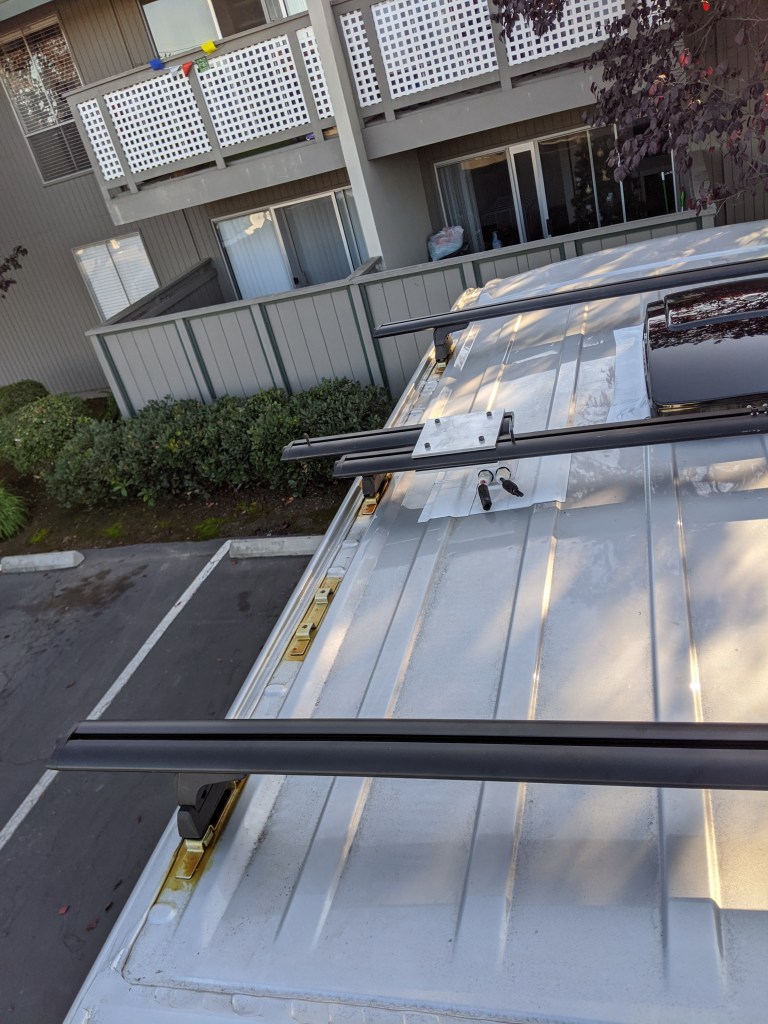
The plan is to install a roof vent, roof port for wiring, and the side window in the sliding door. I did this the second day I had the van. There’s nothing quite like cutting a hole into a brand new vehicle. 🙂
I had bought all of the following parts beforehand while preparing for the van build.
Some notes about the product choices: the roof vent adapter is nice because it fits between all of the raised ribs on the roof, making a flat surface for the vent flange to mount to. I also chose Eternabond instead of the more commonly used Dicor sealant or any other silicone-based sealants. I’ve used this in the trailer install as well, and I trust it completely to last as long as claimed (10 years). It’s easier and quicker to apply, and it’s some of the most flexible/stretchy/sticky stuff I’ve ever seen. There’s no way for it to crack, and as long as the adhesive sticks (which there’s no way it won’t), you have complete sealing around the entire tape edge.
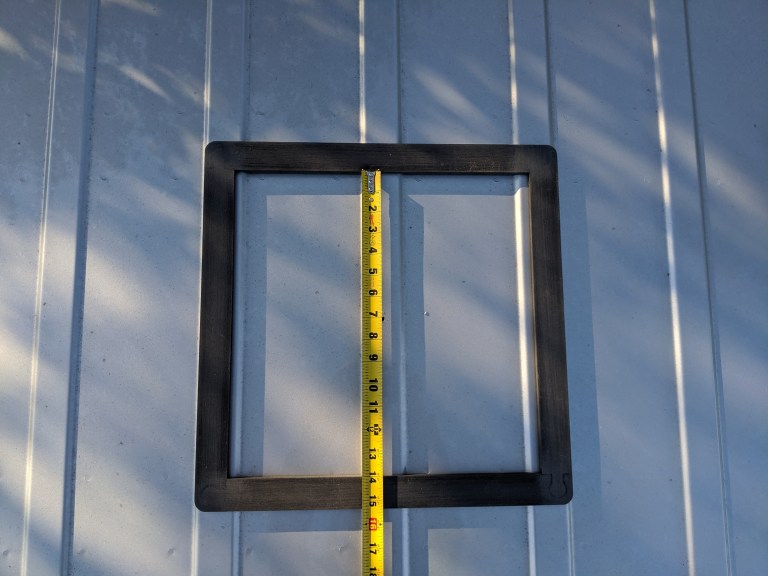
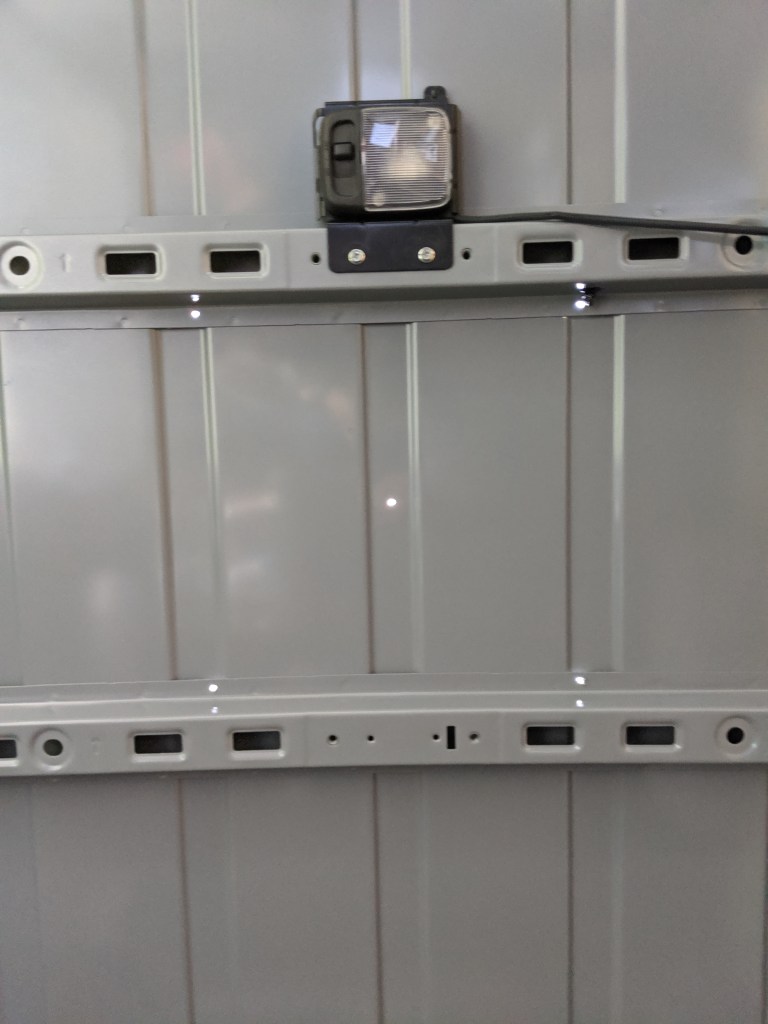
To start, I measured the roof spacing inside the van between the ribs. This ended up being 14.5″ where I wanted to install the vent fan, just barely enough room. I marked the center between the ribs, and drilled a locating hole in the roof.

I crawled onto the roof of the van with the spacer, and using the locating hole to center the spacer, marked around the inside perimeter on the roof of the van.
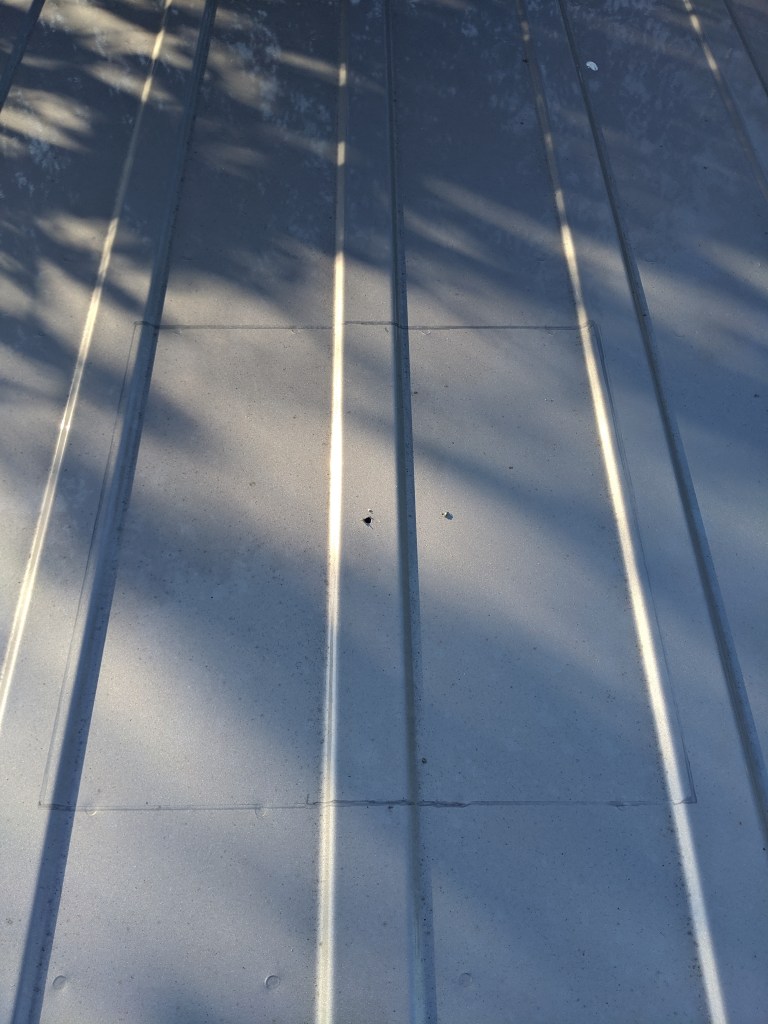
Next, I drilled 3/8″ pilot holes in the corners of the marked outline, and double checked the fit from inside the van.
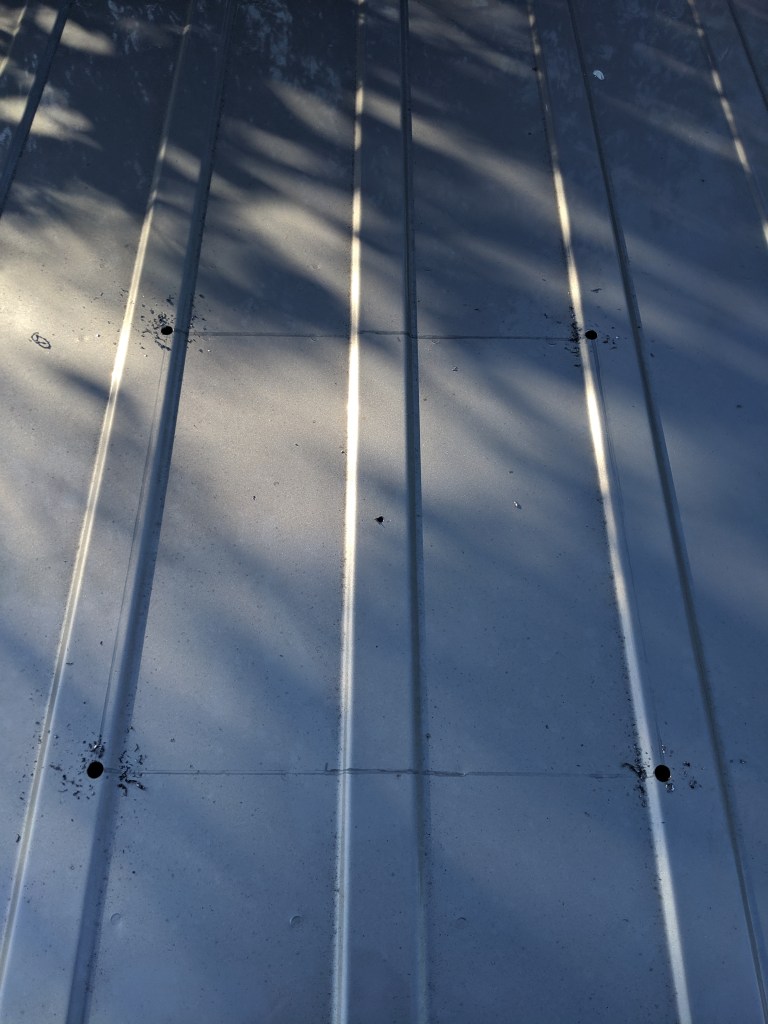
Everything looked good, so I taped up the outline to protect the paint. Then there was nothing left but to cut out the hole. I just used a cordless jigsaw with a metal cutting blade for this, and then used an angle grinder with a flap disc to clean up the edges.

Once the hole was cut, I relaid the tape outline around the outside perimeter of the roof vent adapter, scuffed up the paint inside the tape, and primed the cut edges with the 3M Window Weld primer, along with the outlined area. This is to prevent rust, as well as give the Window Weld urethane adhesive a good surface to adhere to. I also primed the roof vent adapter, but I’m not sure this was actually necessary.
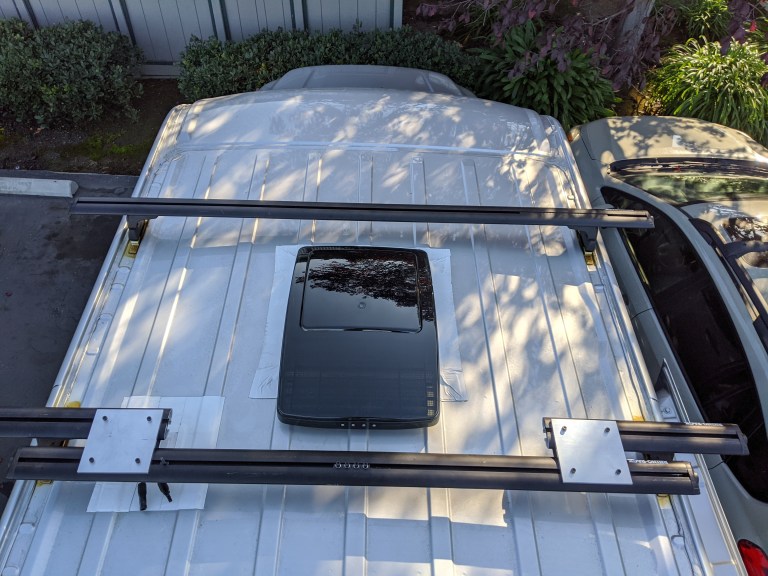
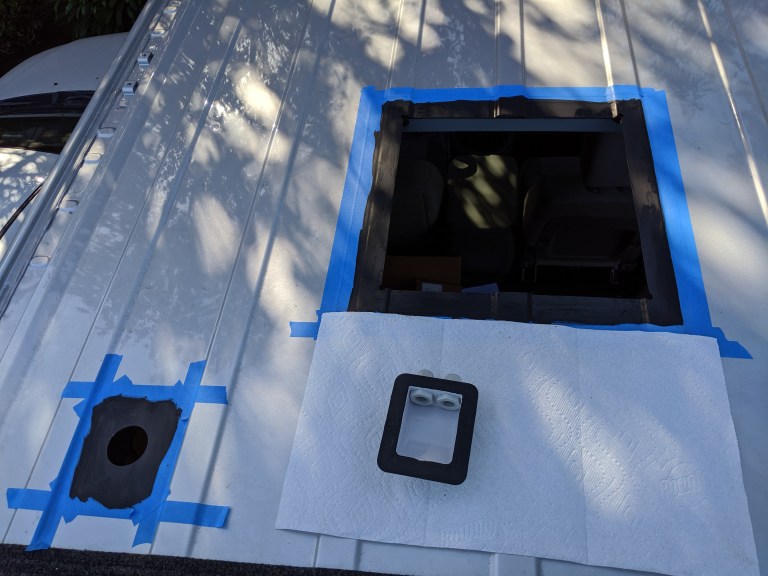
At the same time, I used a 2″ hole saw to drill another hole in a flat section of roof away from the ribs (close to the second roof rack mounting bracket), and masked off/primed that area along with the port gland to be glued as well.

Two beads of the 3M adhesive were laid around the roof vent adapter, and one bead around the port gland. Then I simply lined them up, and pressed them down evenly onto the roof of the van.

While the glued down bits on the roof were curing, I cut the hole in the door for the window.
I didn’t take as many pictures of this part, as I was much more nervous doing this than when cutting the holes in the roof, and spent all my efforts concentrating and forgetting to take pictures. The roof was all straight vertical cuts, this door window has compound curves in a horizontal plane.
I did a significant amount of research beforehand on the best way to go about doing this, specifically focusing on OurKaravan and Seven O’Savage‘s processes, but in the end, I did it completely differently than they did.
Their processes involved transferring the outline of the cut line to the exterior of the van, and cutting from the outside. But when I took a look at my van, it turned out that there was just enough room to fit the jigsaw in the door frame to cut the outline from the inside, which is much faster and simpler, albeit slightly more nerve-wracking with how little room there is to maneuver.
So all I ended up doing was masking around the door frame following the doubled up sheet metal outline, drilling a pilot hole in the bottom of the outline, and cutting around the inside of the outline. I started from the bottom, and went around each side, doing the top last. The corners were definitely the hardest part. Once the sheet metal was cut all around, I used the angle grinder with the flap disc again to clean up the edges and fine tune the corners.
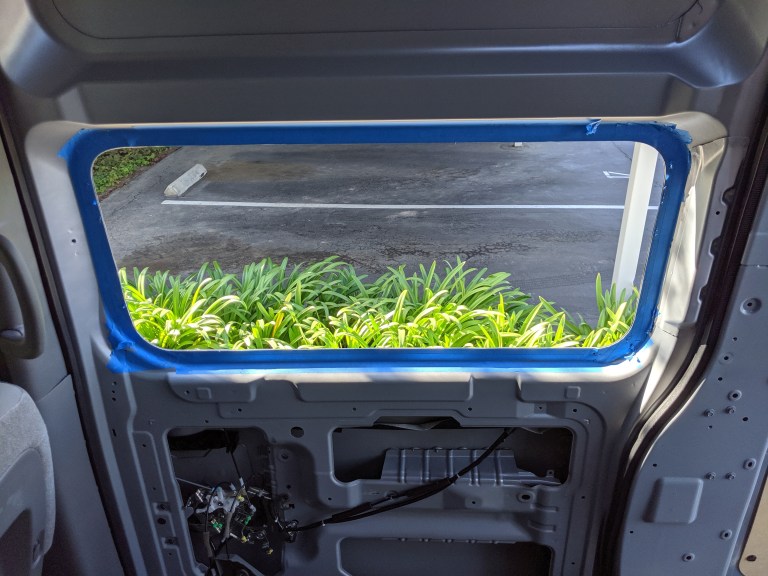
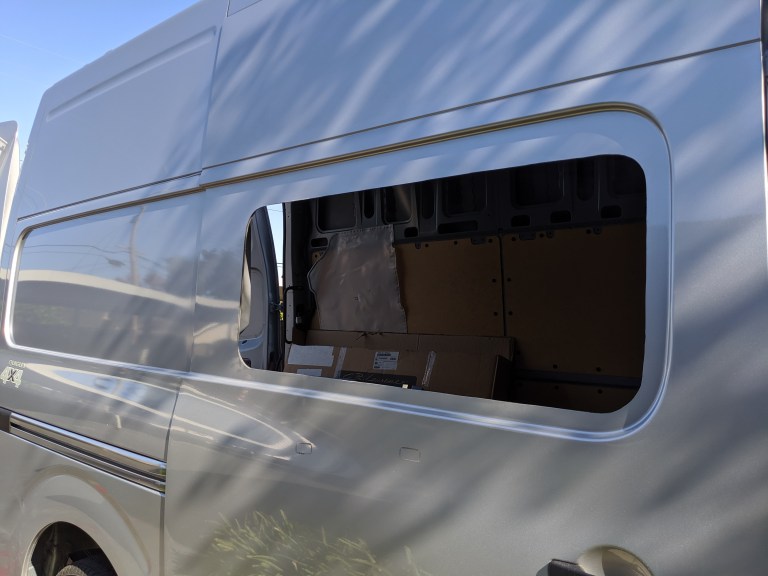
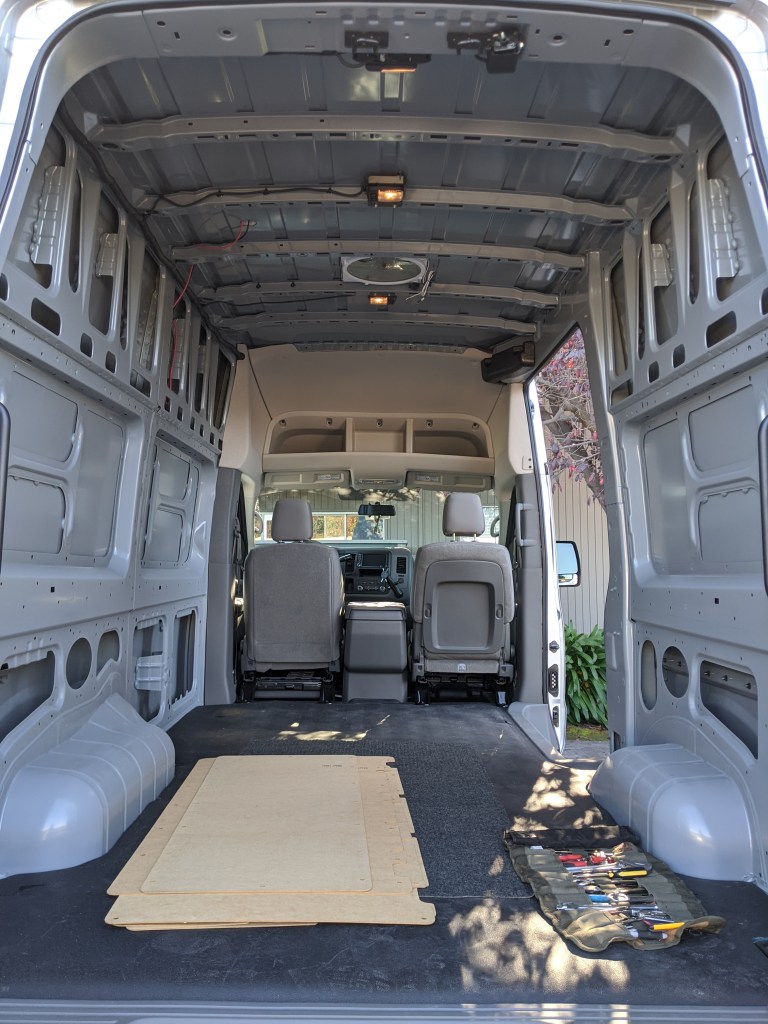
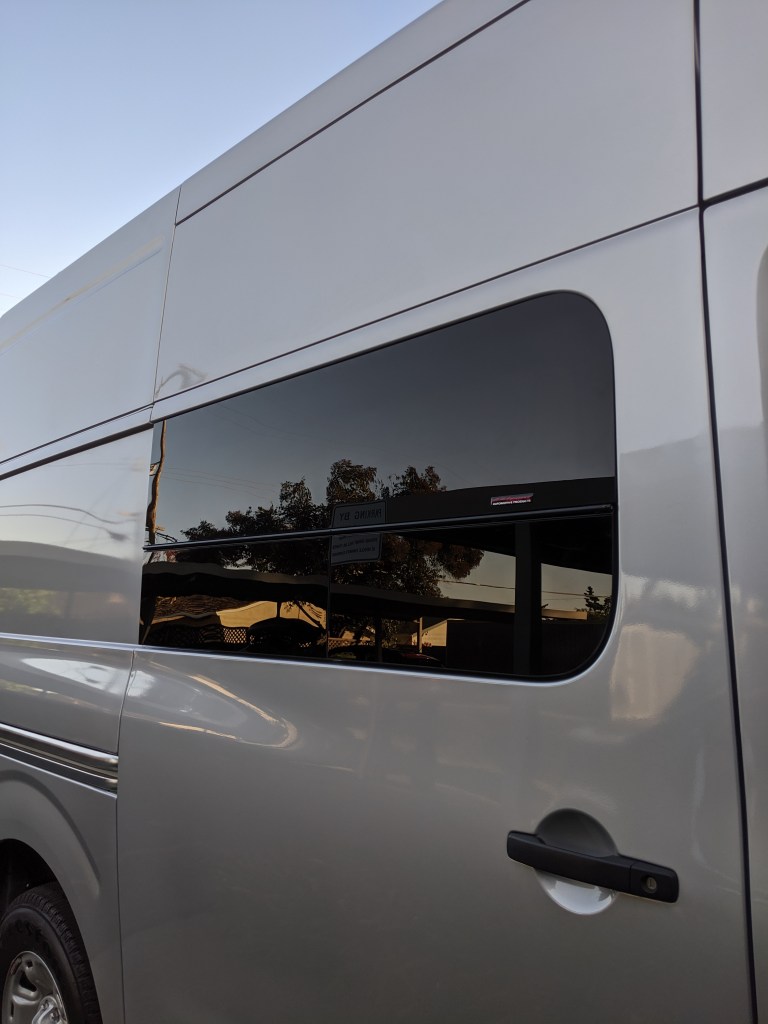
Again, I primed the cut edge, and then just dropped the window in, and screwed in the mounting flange.
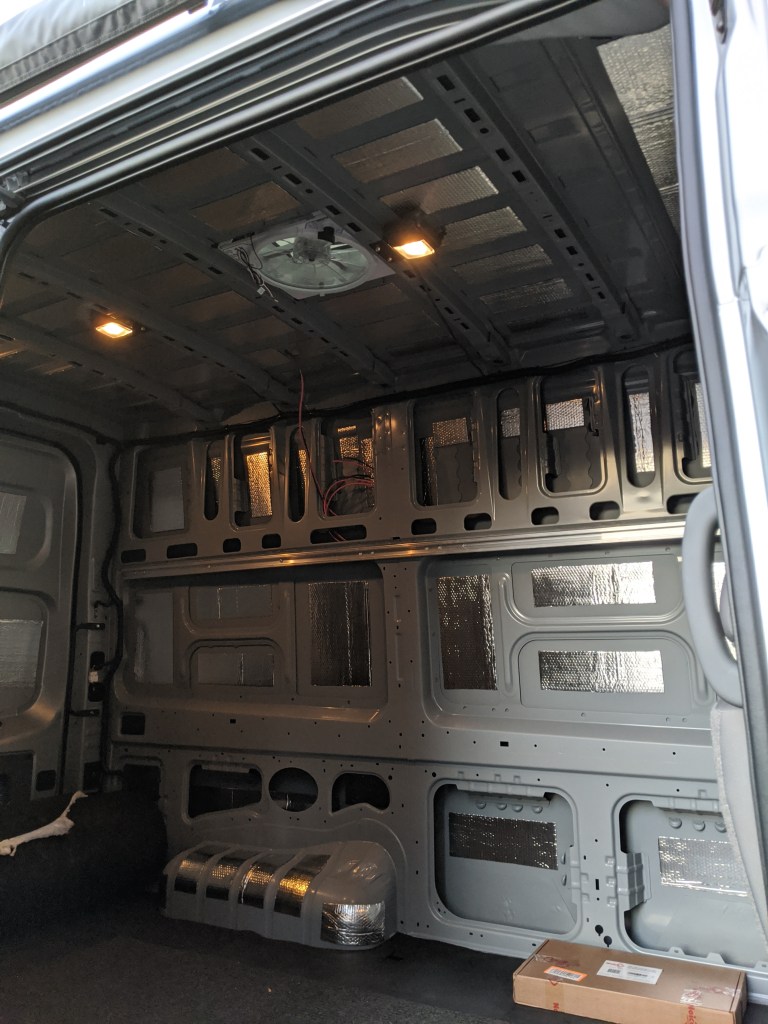
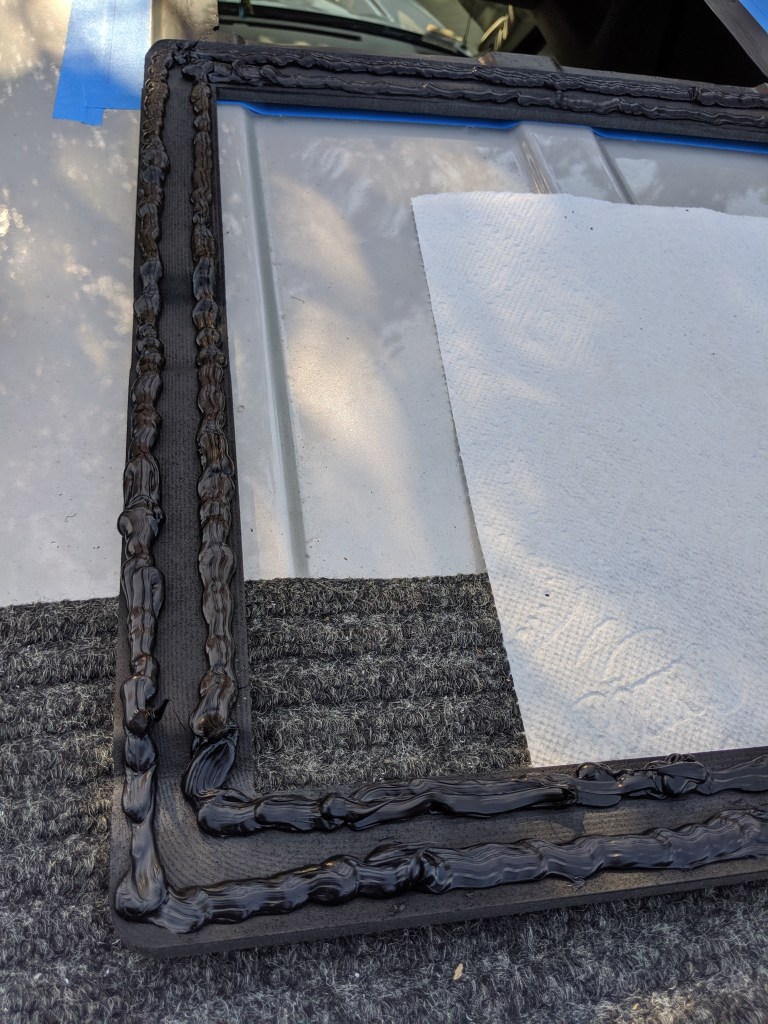
Finally, once the roof vent adapter and cable gland were cured, I applied butyl tape around the roof vent mounting flange, dropped it down on to the adapter, drilled the mounting holes, screwed it down, and sealed around both the vent flange and the cable gland with the Eternabond tape, overlapping the tape to make a complete seal. The tape is reallyy sticky and stretchy, so it was hard to get it perfect without wrinkles, but the edges are all completely sealed, which is the important part. Then I dropped the MaxxFan in, and screwed it to the mounting flange.
Done!

Final result:
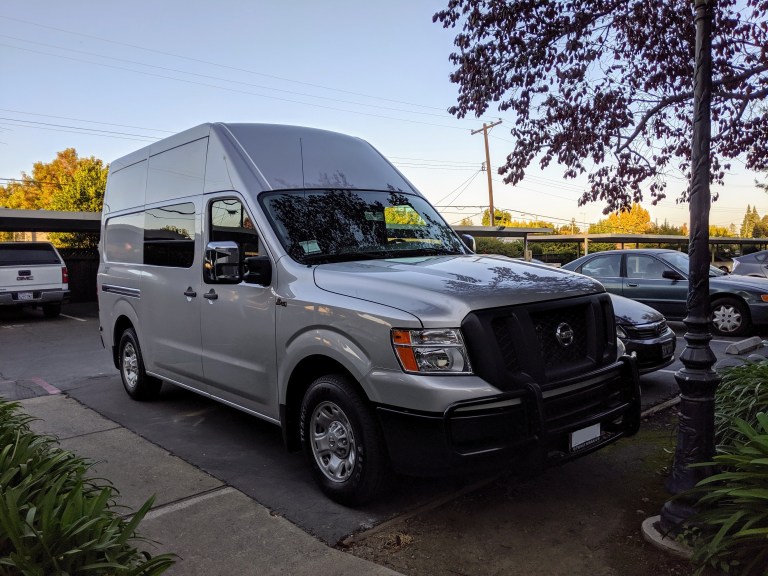
Too bad you can’t actually see the vent on the roof.
Addendum: I also installed a Prime Designs rear ladder (to access the roof), and a push bar on the front, but those were so simple to install that they’re not really worth going into detail on. The ladder you just hook on the top of the rear door, and tighten down the hooks on the bottom. The push bar just bolts on, and I installed it because the bumper on the van is mounted flush and doesn’t really protect any of the painted bits in case you bump something (like the pole in front of the van), so this adds just a tiny bit of padding. It rests against the actual metal bumper with a little rubber pad, so although it might potentially be a damage multiplier in an actual accident, it should protect the van from day-to-day parking incidents. It’s a big vehicle with a long nose.