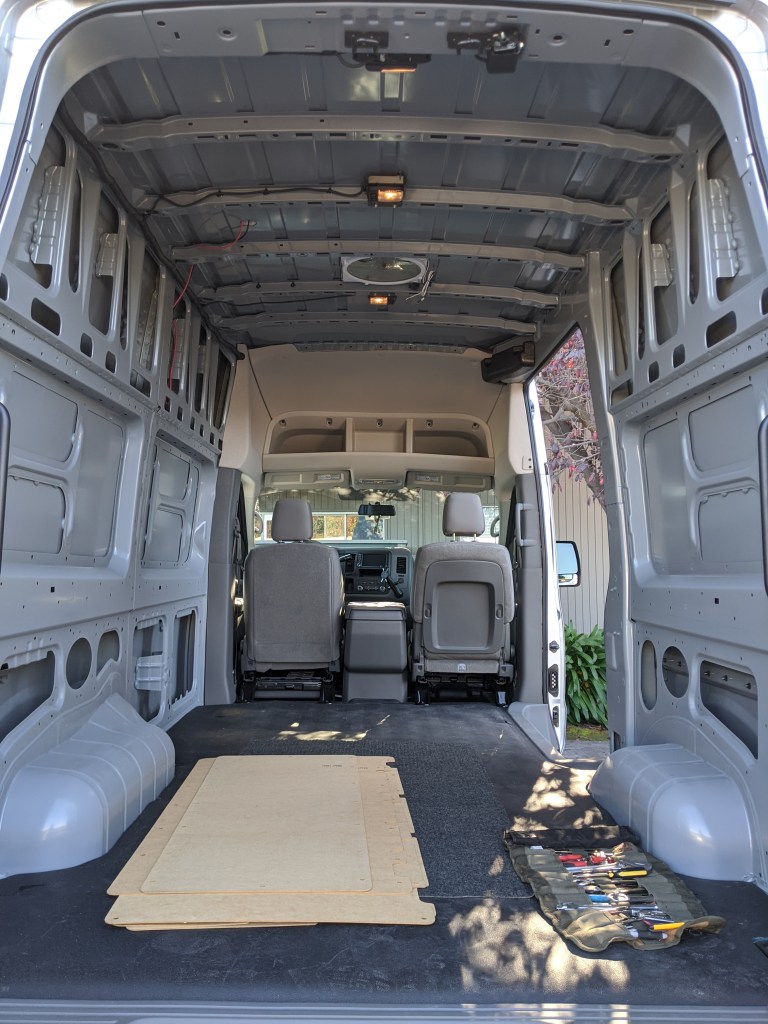
Did some smaller easy modifications today. Pulled all of the hardboard off of the interior walls in preparation for installing insulation/sound deadening, and installed the roof rack along with some recovery points.
I was mindlessly browsing the internet for a way to add some recovery points back into the front of the vehicle after removing the tow hooks to install the push bar, when I ran across these tow points for a 200 series Toyota Landcruiser from Australia:

Curiosity got the better of me, as doing some quick eyeball calculations based on relative sizes in the pictures, the mounting bolt holes looked suspiciously close to the 6″ center-to-center distance that the Nissan’s tow hooks have. So I bought them, not knowing 100% if they would fit.
Turns out they fit perfectly. The distances for the mounting holes are exactly the same.
So here they are, mounted on the van:

They have a 5000kg. working load limit each, so they’re plenty strong. I bolted them up under the mounts for the bull bar, and there’s plenty of clearance to attach a shackle to them. Mounting them inside the push bar allows for the use of a bridle, should the need arise.
Sometimes you just get lucky.
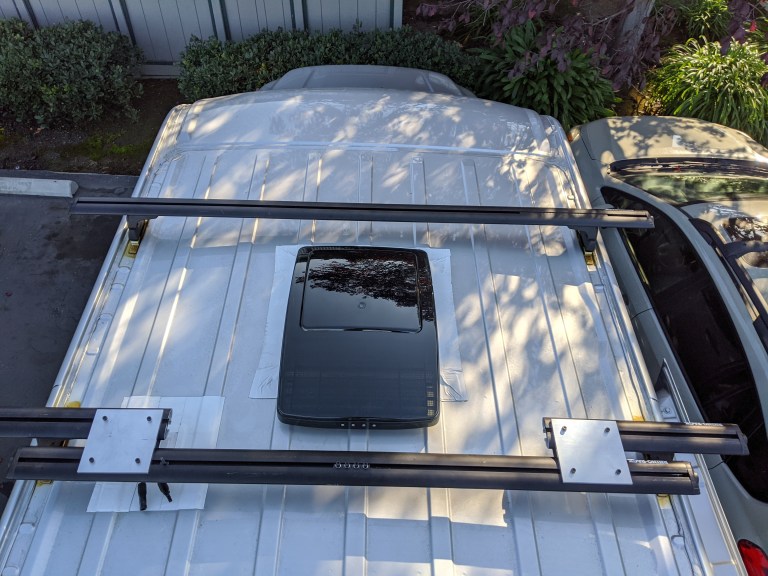
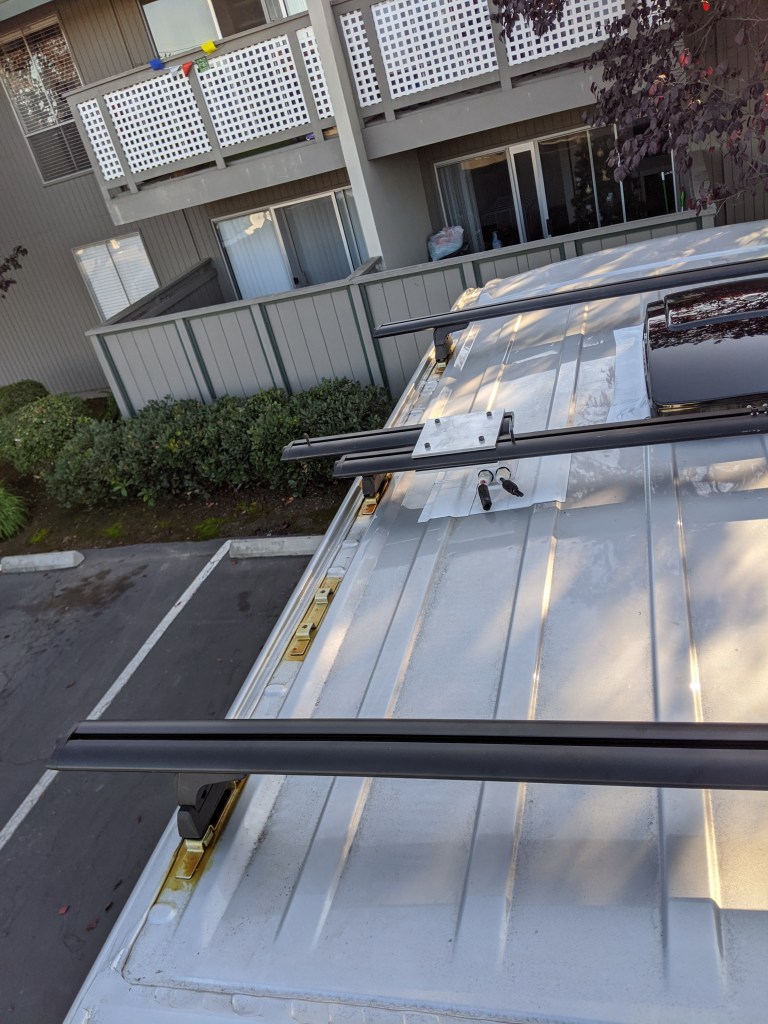
Next I installed the roof rack. I chose the Rhino Rack Vortex RLT600 system, as this came off of my trailer and I had most of the parts on hand, saving some money.
Looking at the roof rack mounting points, I wasn’t happy with the finish on them and how they were welded to the roof, so I sprayed them with a coat of Amsoil Heavy-Duty Metal Protector to ward off rust, then I bolted the roof rack on. I used this stuff to coat the frame of my Tacoma, and it works amazingly. There wasn’t a spot of rust after 3 years in the Midwest salty winters.


I used two 70″ bars, and modified two 60″ bars to make a third 70″ bar with an offset in order to clear the MaxxFan. I already had the shorter bars on hand, so they would’ve been useless otherwise anyway. The way the rack mounts are on the Nissan, the bar would’ve fit without modification for a Fantastic fan, but the MaxxFan is much larger. The next set of rack mounts are too far back and too close to the rear bar for my needs.