I have been struggling with trying to come up with a good way to put together the ceiling.
Since I decided to go with cedar tongue and groove panels for the ceiling, that basically requires wood furring strips to screw the hundred or so screws that are going to hold up those panels.
However, I’m also planning on mounting some overhead cabinets/shelving made from 80/20 extrusions, and so needed to figure out a structural method to secure those to the ceiling.
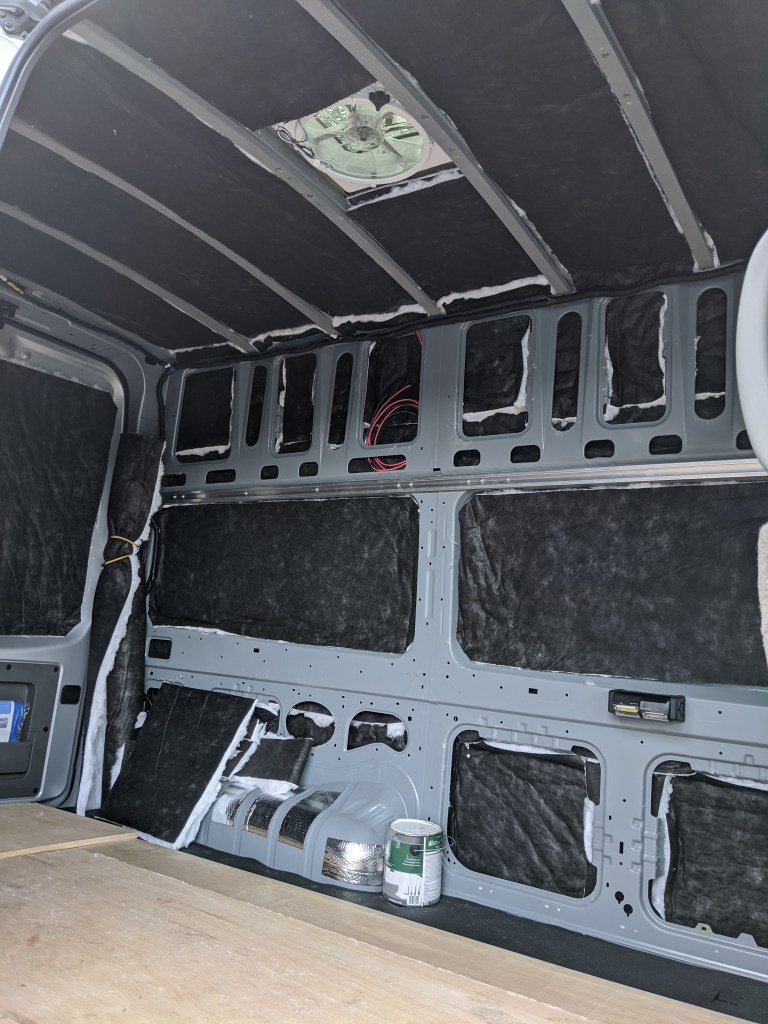
The way the sheet metal roof ribs are in the van, there’s two threaded M8 mounts in the middle of each of the ribs, and a whole bunch of holes throughout the rest of the ribs.
First, I tried using some furring strips and bolting them straight to the mounts, using the bolts to bend the strips in the middle to fit the curve of the ribs. This was before I came up with a way to mount the overhead shelving, but immediately realized this wouldn’t work.
With all of the flex that happens naturally in the body and chassis of the van just from driving, the wood strips creaked with every tiny little movement. Drove me crazy pretty much immediately, so I scratched that idea.
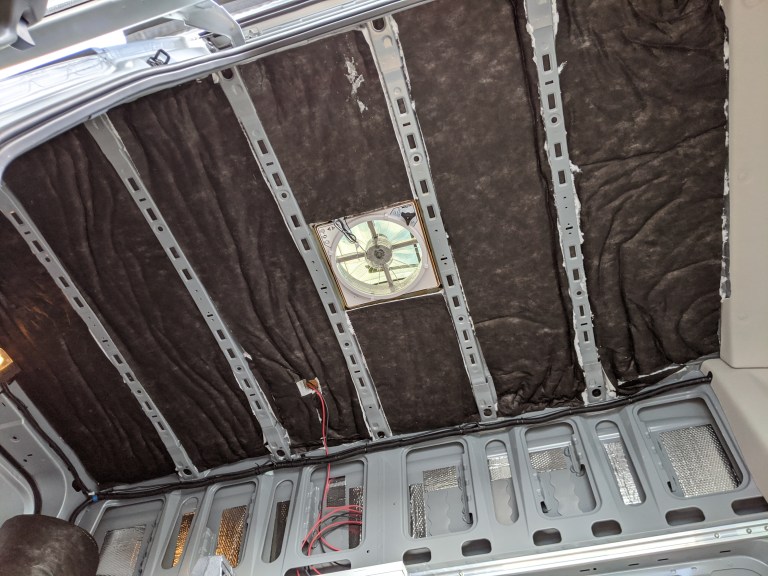
In the end, I ended up using the same 1×2 boards, but modified them pretty extensively.
I drilled some 3/8″ holes into the roof ribs close to the walls, and installed some 1/4″x20 plus nuts. This way, the wood 1x2s can be structural, since the cabinets will have support from the wood boards being bolted to the roof ribs on both sides of where it mounts.
The M8 middle mounts were spaced down by 1/2″ to reduce the amount of curvature and pressure on the wood. The 1/4″ edge mounts were spaced down by the same, but this was done so there isn’t so much direct pressure from the wood on the metal ribs, to eliminate the creaking. There still was some contact between the end of the wood strips and the metal, so I placed some closed cell foam weatherstripping to eliminate direct wood-to-metal contact.
Then I hung some 1/4″x20 carriage bolts down from the 1x2s where I’m planning on mounting the cabinets. This is a much more secure method of bolting the cabinets, compared to screwing directly into the wood.
The whole thing was painted to try and make the wood more resistant to moisture. Try to ignore the tearout around the holes, I’m not a carpenter :).


This entire assembly then gets bolted up to the sheet metal ribs using the 4 bolts.
Now I can screw the cedar planks into the furring strips, and still have a positive mount to bolt the cabinets into.
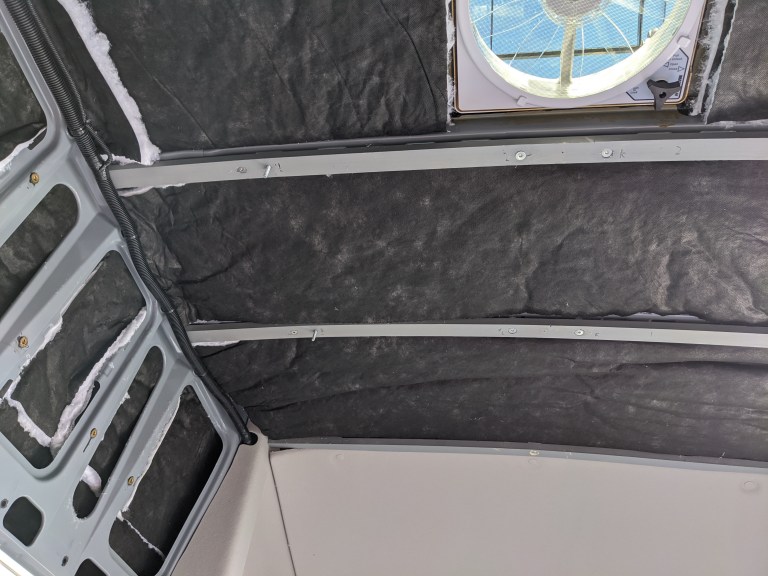
I also needed to fabricate some strips for the front and rear of the roof, where the original headliner and third brake light are, respectively, since there are no roof ribs there to support the cedar planks. That ended up being 2 stacks of cutoff bits of 1×2 at the ends up the strips to bend them down to match the curvature of the rest of the roof, and the middle was bolted to existing M8 and M6 bolt holes on the roof sections of the B and D pillars using 90* aluminum angle brackets.
In the end, I do lose roughly 1.5″ of ceiling height with all of these shenanigans, but I’m not a tall person, so there’s still plenty of space.
This took a lot longer to figure out than I originally planned. Who would have thought putting up a ceiling would be so difficult?